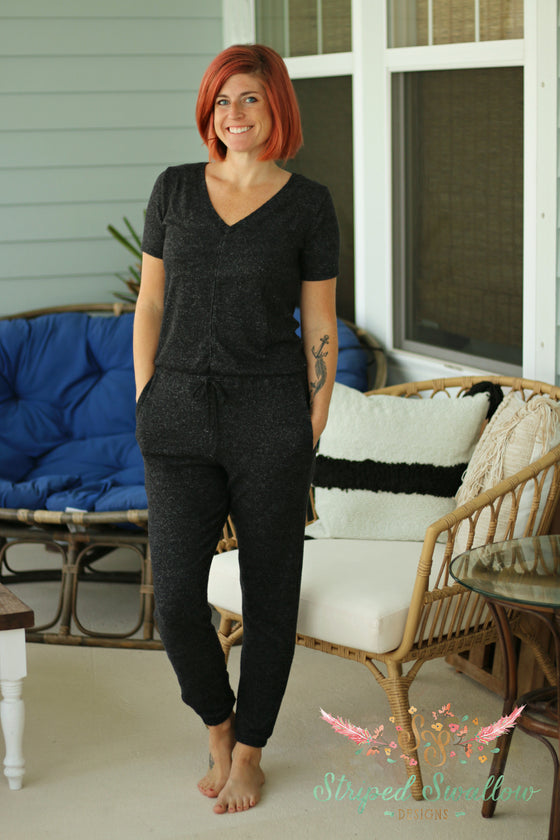
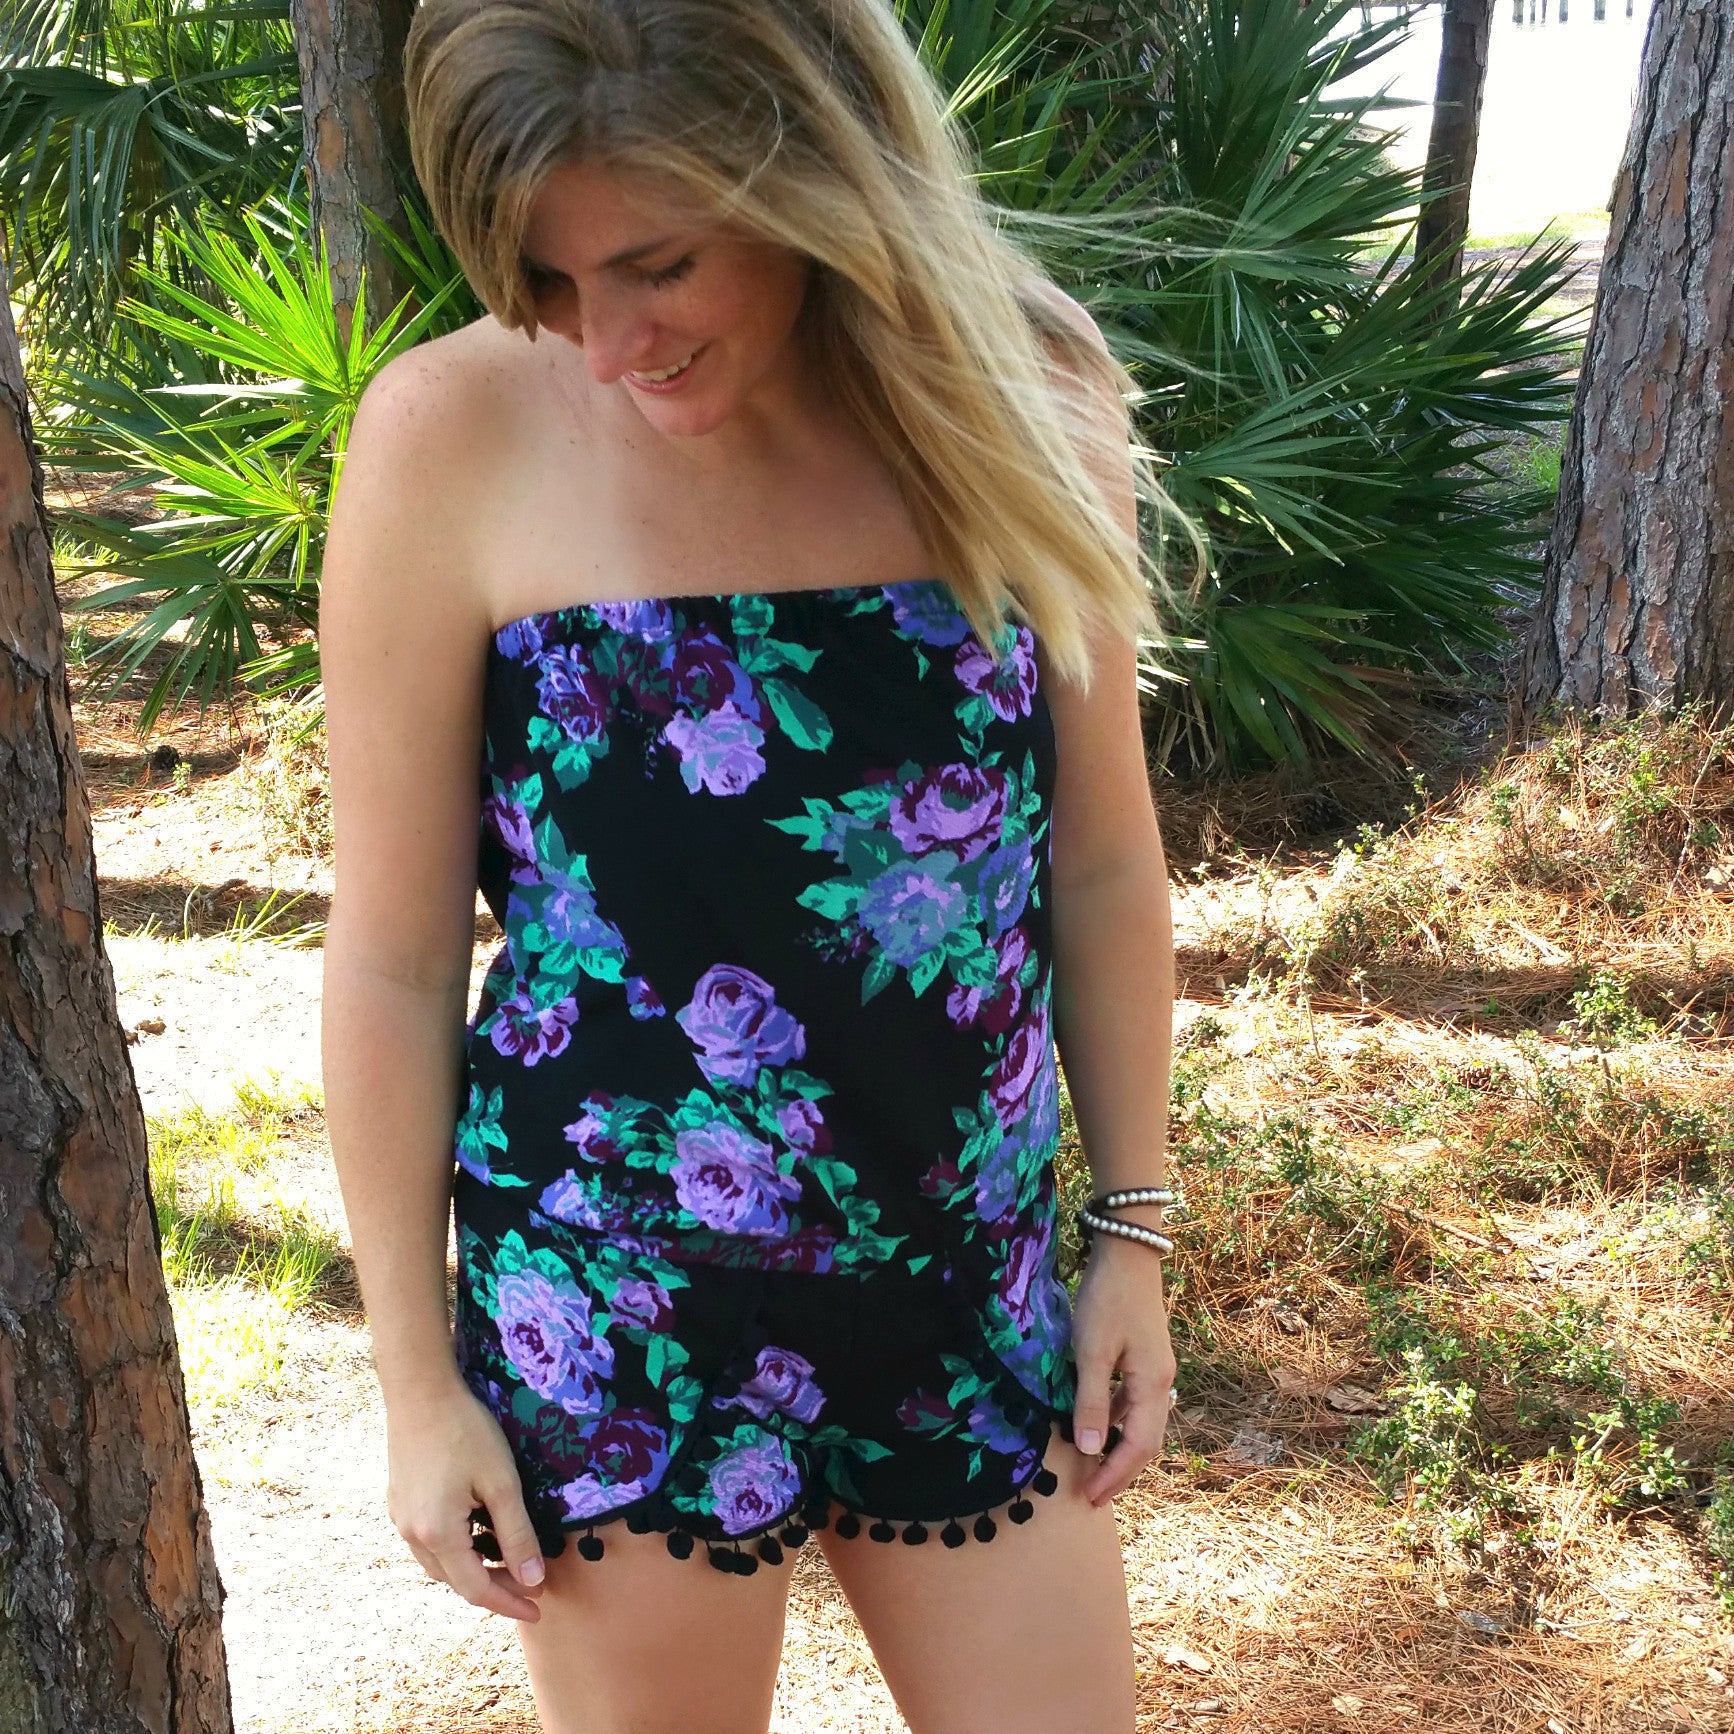
We've just released the Emerie Romper in babies' and girls' sizes so how about a little romper love for the ladies! This is the very first romper I've ever owned (well at least in adulthood)! I've tried them on before, but they always look horrible on me with my non-existent bum ;)! So I'm stoked with the outcome of this mashup and how much I actually love wearing the Coachella / Cloud Chaser Romper!! (Pick up either one of these patterns for only $5 during our 48hr flash sale, that's more than 1/2 off!! No coupon necessary, sale ends on July 12th at 7:59AM CST).

Follow along the Coachella Shorts tutorial, but do not add a waistband. The only thing I did differently here was stop sewing my trim .5" from the top of the shorts since there is an inch seam allowance. If you sew the trim all the way up, that is fine just make sure to cut off any poms 1" from the top. Also, we will be using 1/2" elastic so you do not need the 1 1/2" elastic as stated in the pattern.

Lay your shorts out flat and measure the width (just the width when laid flat, not the total width). This will help us figure out any adjustments that need to be made to the Cloud Chaser (CC) bodice width. I forgot to write down my width, but I believe it's around 20" so I will use that for this example.

Take the measurement you just came up with and add .75" (this is needed for the CC seam allowance). Then divide by 2. For example: (20" +.75")/2 = 10.375".
This is the width you will want your CC pattern pieces. My current pattern piece is 10" wide; therefore, I will need an additional .375" added to the width of my CC bodice pattern piece. Since I was working with knit and could easily stretch that little bit while sewing, I just rounded up to 10.4" to make it easier when cutting.
Front pattern piece I added the extra width (.4") on the left side and just extended the top curve out.

Back pattern piece I added the width on the right side, but you could do either side since it's just a rectangle.

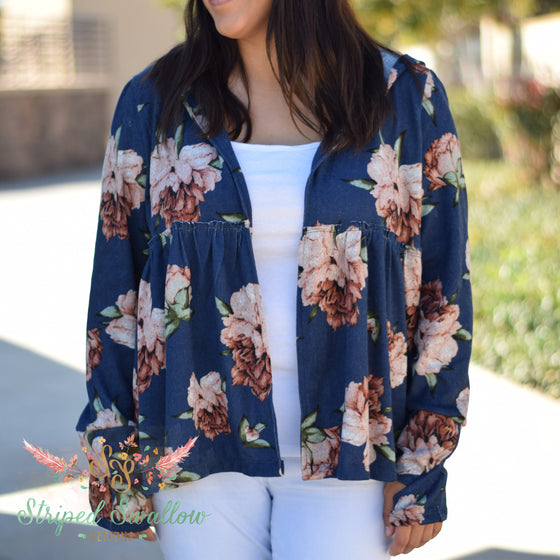
Now follow the tutorial and make the CC top, do not hem the bottom as we will be adjusting the length after constructing the top. Also, don't forget to add snaps or sleeves if you would like to. My white version (pictured at the end of the tutorial) I added snaps so that I can wear it with or without sleeves. :)

Now your Coachella Shorts and Cloud Chaser Top should be constructed, it's time to try them on and decide how much length to take off the CC. Make sure you put on the top with the curved edge in the front (see pic above).
It's a little difficult to see in the pic below, but I adjusted the top to where I wanted it to hit (leaving it just a little blousy). Place a pin to mark this spot.

Lay your CC top on the cutting table and make sure the bottom is lined up straight across. Cut 1" below the mark you placed (this will be your seam allowance that we will turn into the casing).

Mark the bottom center front and back of your CC, these marks will be matched up with the front and back seams of the Coachella Shorts in just a bit. Next turn the CC inside out with the front laying face up. Coachella Shorts should be face up as well.

Then slide your Coachella Shorts inside the CC, right sides together (RST). Double check that the front of the Coachella Shorts and CC are matched up so you don't accidentally sew it together backwards. Pin the raw edges together.

Sew the CC and Coachella Shorts together with a 1" seam allowance. And serge or zig-zag the raw edges together.

Flip the seam allowance up towards the CC and iron. Sew the seam allowance to the CC (.75" from the seam line) to create the casing. Leave a 1-2" opening to insert the elastic.

Use 1/2" elastic and cut to what feels comfortable for you. I tried on the romper to see where the casing hit me, measured and cut the elastic 3" shorter than my measurement. Thread the elastic through, overlap the ends, sew together and sew your casing closed. You are now finished with your Coachella / Cloud Chaser Romper!!

Here is a pic of the high waisted version (please note it took me 2 months to finish this one and I lost the rest of my pregnancy weight so it's about two sizes too big HA, but hopefully you can get the idea of what it would look like with the higher rise). Oh and I made this one with a flat front, by just putting elastic in the back of the casing.

xoxo,
Mandalynn
Comments will be approved before showing up.