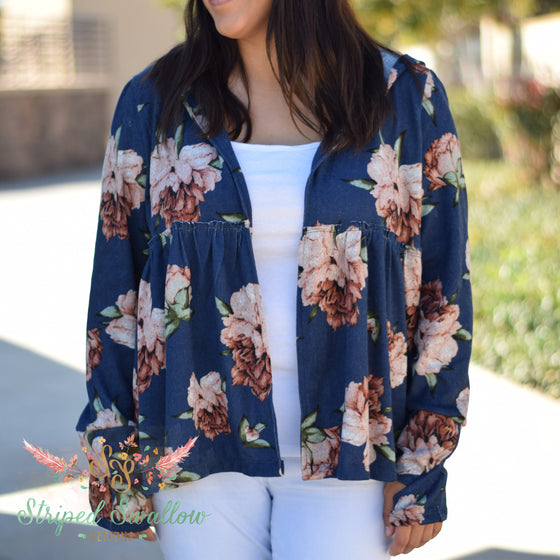
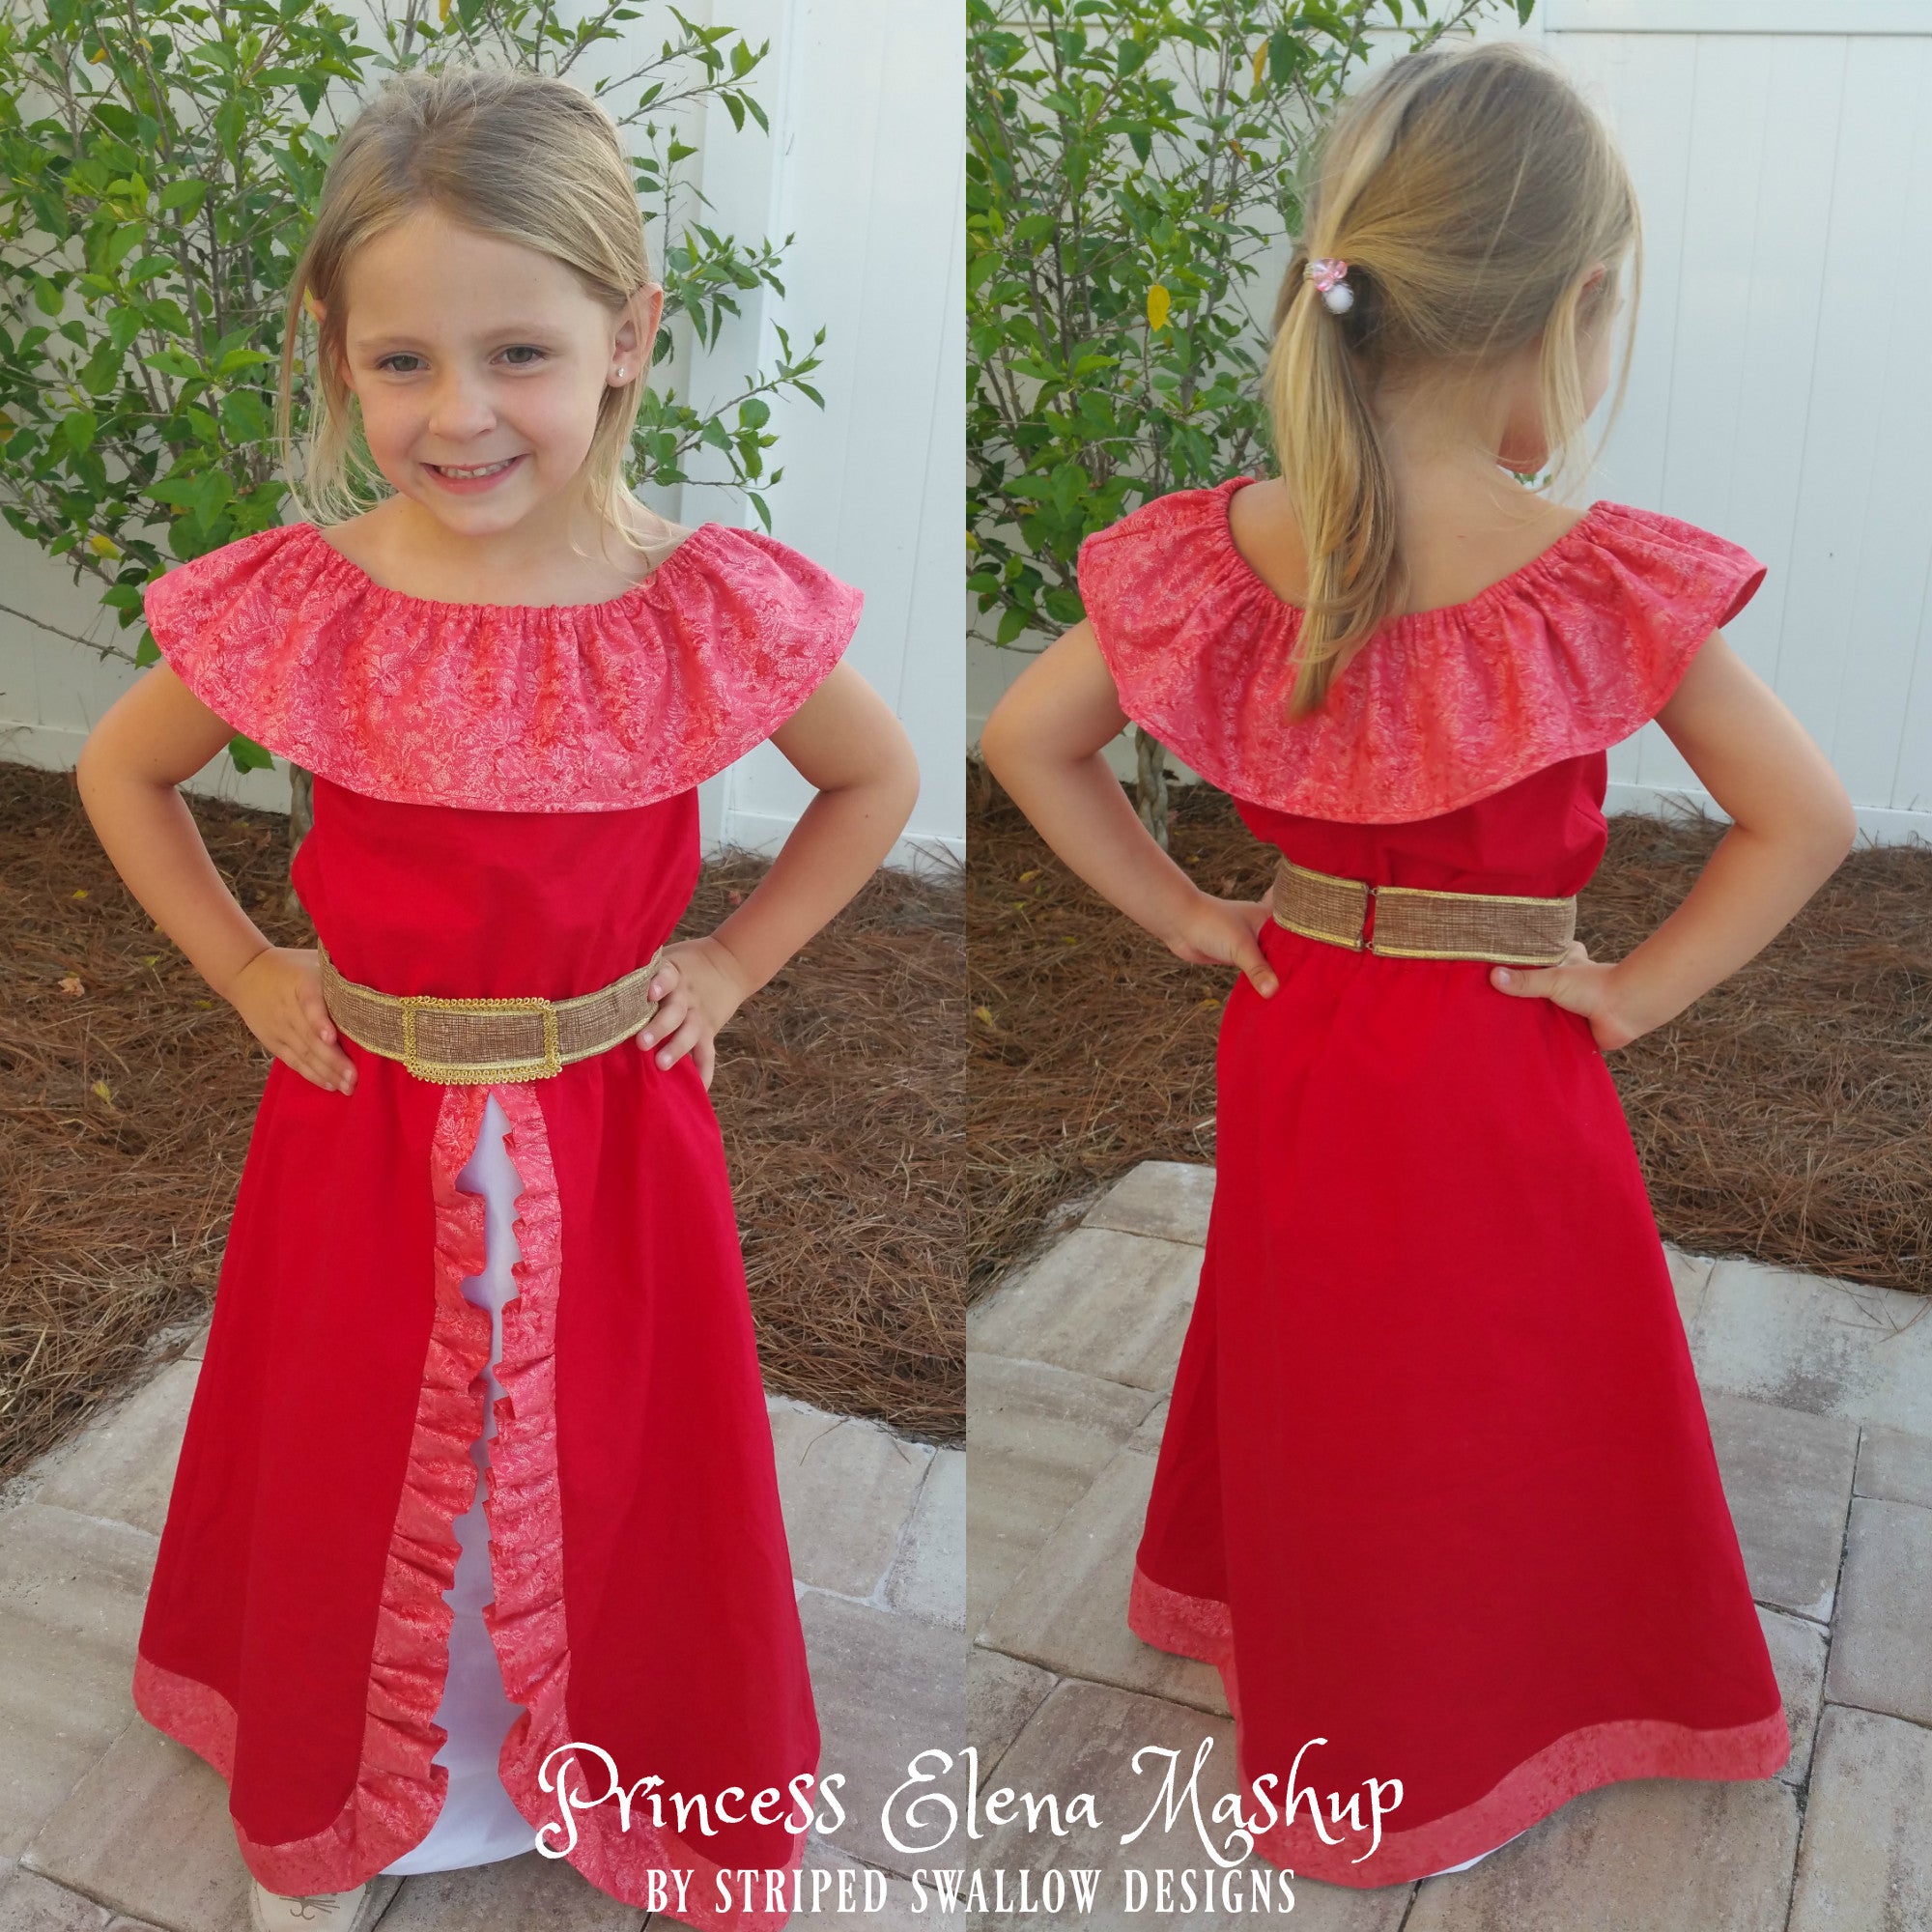
Walking into the Disney Store a few months ago, Harbor immediately ran over to the new Princess Elena of Avalor section. The new princess' dress immediately caught my eye as it seemed to be the perfect mash of two SSD patterns, the Midsummer Dream and Festival Skirt! I went home and started searching for the perfect accent fabric and ended up ordering Michael Miller's Fairy Frost in Spice.

I'm loving seeing all the creativity and different variations of Princess Elena and everyone's mashups! I will show you what changes I made while mashing the Midsummer Dream and Festival Skirt!
You can absolutely just do the ruffle in the front as per the pattern; however, I decided I wanted to add the accent color to the back as well. I took the overskirt pattern piece and curved the bottom left (as shown in the picture on the right).

If adding the accent color to the bottom back of the skirt, you will need to cut one more piece once you have sewn the front and back overskirt pieces together. If you are not adding this piece, just complete the skirt ruffle per the pattern and skip down to cutting the underskirt on this blog post.
Fold the skirt in half as shown below.
Next measure where the curve ends to the fold (which is the center back of the skirt). Take this measurement, multiply by 2 and then add .75". This will be your width. For the length you will measure the bottom of the original ruffle piece and use this measurement.

Cut a rectangle using the measurements you just came up with.

Sew the short ends of this piece to the bottom of the original ruffle pieces to make one long piece. Trim the seam allowance and press open.

Fold the piece in half so RST and press.

Run a gathering stitch for the original ruffle piece portion (so you will be gathering both ends until you get to the seam allowance and leave the back straight). Mark the center back by folding in half (do the same with the overskirt).

Pin the center of the long strip and center of the skirt together (matching up the raw edges).

Continue pinning. Once you get to the gathered section you will spread out your gather evenly and continue pinning all the way to the top of the skirt.

Press the seam allowance towards the overskirt and topstitch.

Measure the length of the overskirt, then add .5" for seam allowance and this is the length you will want to cut your underskirt. See below for how to cut the width.

I used the underskirt pattern pieces and just followed the line out and down as shown below. If you went straight down from the underskirt, the width at the bottom of the skirt would be too small.

Here is a look at it once cut.

Finish constructing the skirt per the pattern.

I added 3.25" to the length of the bodice pattern piece to make sure the dress would be maxi length when finished. (You could add 5" or so and then try on prior to attaching the skirt to determine the best length for your little one.) Since I was using quilting cotton I went with an unlined bodice and just added double fold bias tape to the armscyes.
For the ruffle pattern piece I cut .5" off the top of the ruffle piece as Princess Elena's ruffle is a tad bit shorter and she wears it on her shoulders. Use the shoulder elastic lengths for the "without straps" option.
Construct the bodice as per the pattern.
If you want to check the length of the bodice on your little one, go ahead and do so now.
Next mark the center front and back of the skirt and bottom of bodice. Turn your bodice inside out and slide over the top of the skirt RST. The widths of each may match up and you can just sew the two together. 
However, they may be slightly off. If so, pin the sides of the bodice so you know how much you need to take in the bodice. Mine (for a size 5) was only about .25" off on each side so I just tapered in the bottom of the bodice .25". If your bodice width ends up being much larger than the skirt you can gather the bottom of the bodice to make it the same width of the skirt.

After you have made any adjustments needed, go ahead and slide it back over the skirt RST matching up the center back and front of the bodice and skirt. Pin together and sew (I used a 1/4" seam allowance here to keep more length on my skirt).

I chose to add an elastic casing using single fold bias tape. To do so, flip the dress so the wrong side of the underskirt is facing you and the bodice is inside the skirt. Open the bias tape and match up the crease with the seam stitching on the skirt. Pin in place.

You'll want the bias tape to overlap approx. an inch. Sew the bias tape to the skirt (along the crease/seam line of the skirt).

Pull the bodice up and press the bias tape up towards the bodice.

Edgestitch the bias tape creating the casing. Leave approx. a 1.5" opening to insert the elastic.

Measure your little one's waist and subtract 3", using this length cut a piece of 1/4" elastic. Thread your elastic through, sew together and sew the casing close.
For the belt, I just made a sash to fit around her waist which fastens with hook and eye closures (her waist measurement is 20.5" and I cut one piece for the sash 4"x23"). I'll share info and a few photos of the construction process below.

I added the accent trim before sewing the sash. To this, I folded the sash in half and ironed to create a crease. Lined up the trim with the edge of the crease and sewed in place. For the second trim piece, it's sewn 1/2" from the raw edge.

Then iron one short end 1/4" towards the wrong side, fold the sash in half RST and sew the other short end and along the long edge of the sash with a 3/8" seam allowance. Turn the sash, press and sew the open end closed.

For the belt buckle, I used trim and attached it in a square (3" wide) around the outside of the sash.


I hope you enjoyed making your Princess Elena Dress and that your little one's love it just as much as mine did!! It took me a few months to finally finish this project so Harbor was thrilled when I finally finished it and gave it to her!
I've created a limited time bundle for the patterns to create this look HERE. Or if you only need one of the patterns you can use 'midsummerelena' or 'festivalelena' for $2 off the single patterns until Sunday, October 16th at 11:59PM CST.
xoxo,
Mandalynn
Comments will be approved before showing up.