
Soon after the Daybreak release there was an inspiration post made in the Striped Swallow Designs' facebook group of a tankini swimsuit that looked very similar to the Daybreak for the top. My daughter had a school field trip coming up to the waterpark the following week and I knew it would be perfect so I set out on making one the next day. (The photo on the right is from Swimfully.) I used the Into the Blue for my bottoms -- no mods, just skip adding the top of the ITB and they make super cute swimsuit bottoms.

This hack only requires a couple quick and simple mods: removing the placket from the pattern piece, binding measurements (so don't cut those out just yet!), adding a shelf bra and swim elastic. Construction is a tad bit different than the tutorial in the pattern to be able to add the shelf bra, but I'll go over all that below. :) You'll want to make sure you have 1/4" and 3/8" swim elastic on hand for this project as it's not listed in the notions of the pattern. Additionally, I use swim fabric for the shelf bra and if you have a larger bust you may want to add a layer of power mesh to your shelf bra for a little extra support.
Note: You will want to make the size you measure per the size chart, no need to size down. This also looks cute as a crop top swimsuit, example photo and instructions located below the removing placket info below.
First, let's remove the placket from the front bodice so we can cut out all our pieces and shelf bra. To do so, we will just fold the pattern piece as you are instructed to fold the bodice in the pattern.

Find the fold guide on the front bodice.

Place a fold on this line.

Fold it over towards the right, the bottom of the fold should meet up with the tie on the right. Tape it in place.

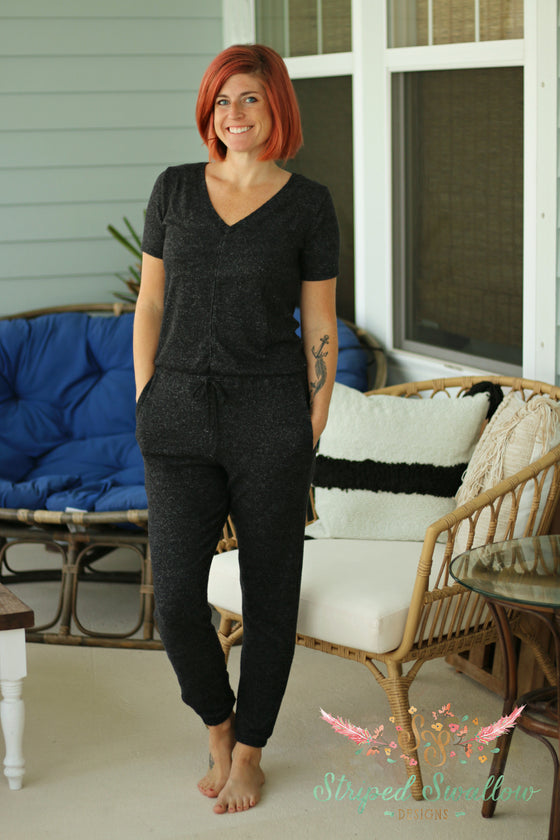
If you want to make it as the high hip length (like my black and white striped version) then just skip down to the next section. If you would like to make the crop view follow the instructions in the pattern for shortening the pattern piece. OR if you would like to make a little shorter crop (like this tropical floral one), you'll want to remove an additional 2" from the crop cut line on the pattern piece.

Measure up 2" from the Crop Fold Line and draw a new line. Follow the instructions in the tutorial on how to fold it, using this as your new fold line.

Just tuck the bottom sides of the pattern piece out of the way so you have a nice line straight down on the sides. Then remove the length from the back pattern piece as well.
You may make the regular strap version or halter. If making the halter, make sure that you are using View B. You'll want to cut the length of the bindings 1.75" (for either of the views), this will just give you the little extra wiggle room to cover the swim elastic. Then for the width, you need to add the strap and back bindings together. So strap width + strap width + back width = total binding width. Therefore, you will now just have one long binding piece instead of three separate bindings -- the new binding should be 1.75" x total binding width.
Next, you'll cut your shelf bra from swim fabric using the bodice pattern pieces. For the length, you'll obviously want it shorter. I just measured down 6.5" from the armscye for the XS. You'll want it a bit longer if you have a larger bust though.
Cut the front and back.

Lay the front and back shelf bra right sides together (RST) and sew or serge the side seams. Repeat for the front and back bodice pieces.

Grab your 3/8" elastic and wrap it around your underbust to see what length is comfortable for you. I cut mine 7" less than my underbust measurement. Overlap the ends 1/2" and sew together.

Mark the center front and back of the shelf bra by folding in half. Mark the elastic in quarters.

Pin the elastic to the wrong side (WS) of the bodice, matching up the quarter marks of the elastic with the side seams and center front and back bodice.

Sew or serge. (If using a serger, make sure to turn the blade off.)

Fold the elastic up towards the WS of the shelf bra and sew using a stretch stitch or coverstitch.

Slide the shelf bra inside the bodice, wrong sides together (WST).

Baste the shelf bra and bodice together 1/4" from the edge along the neckline, armscye and back.

Next, sew the front neckline binding on RS against the shelf bra. Do not wrap the binding just yet though!

Grab the 1/4" swim elastic and sew to the seam on the RS of the front bodice.

Press the seam allowance up and wrap the binding, if you are unfamiliar with wrapped bindings there are more detailed instructions and photos in the pattern tutorial.

Note: for the v-neck dependent on the swim fabric and elastic, you may find it a little difficult to sew the "v" and it can just be left as is...my black and white striped Daybreak is the v-neck without the "v" sewn.

Flip the bodice inside out. Mark the center back bodice by folding in half and do the same with the binding.

Match up the centers RS of binding against the shelf bra.

Continue pinning the binding to the neckline. Sew together. Trim the seam allowance down.

Grab the 1/4" elastic and you will sew it to the RS seam allowance just as we did for the front neckline. Note that if you are making the halter you do not need to add it to the actual ties, just stop at the front neckline. All other straps, you will want to add it to the entire binding. Do NOT stretch the elastic while sewing to the straps. However, on the back bodice I stretch the elastic just a little so it's a little more snug while wearing. Wrap the bindings and straps and sew. Then finish the hem, ties and strap placement per the tutorial.
Hope you all enjoy this hack!!
Comments will be approved before showing up.